Microblading Aftercare Instruction and Healing Process

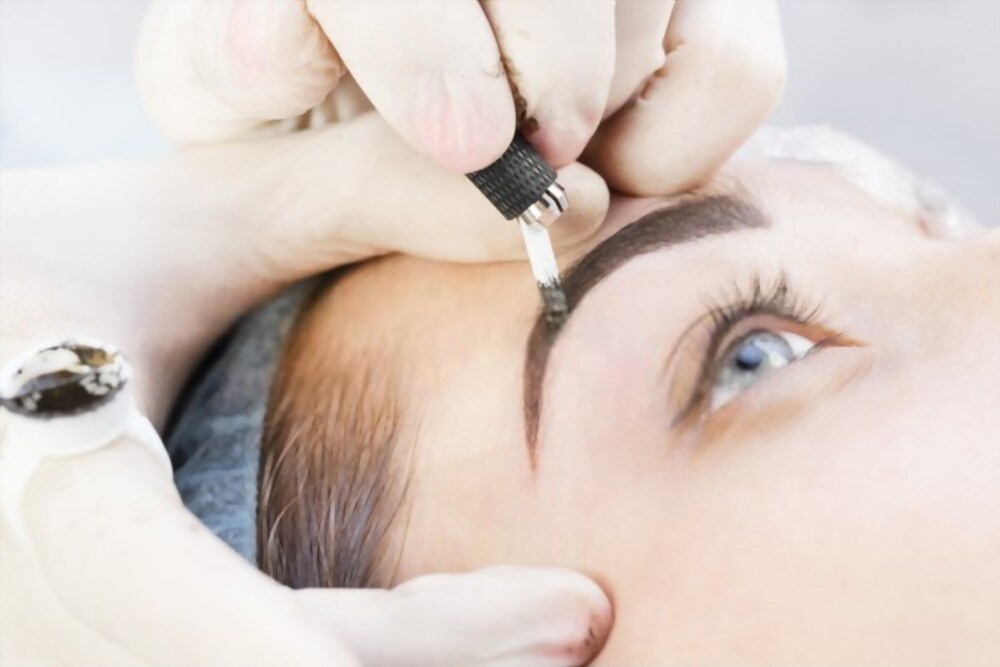
Microblading is a semi-permanent cosmetic procedure you have gone through microblading recently, and now it’s a crucial time for aftercare. Your esthetician or microblading artist will guide you regarding the aftercare routine. Following a strict aftercare routine is very important to get the desired results of microblading. In other words, you can say that the success of the procedure relies on aftercare to a great extent.
Many people consider the microblading healing process as the most challenging stage due to a long list of aftercare instructions. Microblading aftercare is not tough; it is just a little bit tricky in the initial days. In this article, you will learn some basic and easy to follow aftercare rules.
Basics of Aftercare
Microblading is an invasive procedure, and your eyebrow is open wound after the procedure. An open wound needs extra care and hygienic conditions to heal soon.
- Your brows must be red and swollen after the treatment. After a few hours of treatment, blot the wound with a moist cotton pad with just a drop of sterile water. Repeat the process after every two hours.
- After the next day of your procedure, just pat the wound with a moist cotton ball to avoid scabbing. Repeat the process after every two hours or when you feel some fluid is coming out of the wound. Scabbing is part of the healing process, but some people may get irritated with it.
- After three to four days, you can wash your face and treat area with water and soap but avoid too much washing.
- After five to six days, you can start applying healing ointment to speed the recovery process. Use rice size ointment.
Dos and Don’ts of Aftercare
If you follow the microblading dos and don’ts religiously, then your wound can heal within eight weeks without any infection.
Don’ts of Aftercare
- Always use a moist cotton swab on your brows for cleaning in the initial days.
- Don’t use skin irritants and any other cosmetic product near the treated area.
- Don’t wear eye makeup, and Don’t go for chemical peels as it can irritate the skin or can cause infection to wound
- Don’t use any product with glycolic acid, lactic acid, and mandelic acid.
- Don’t scratch your eyebrows and let the scab fell off naturally
- Don’t involve yourself in sweating activities, or don’t go for saunas.
- Avoid going places with dirt as it can cause allergies and infections.
- Extreme sun exposure can also fade the pigment.
- Tanning is also not allowed.
Dos
- Keep hydrated yourself and drink plenty of water and other fluids. Fluid improves blood circulation and speeds up the healing process.
- Keep applying microblading aftercare ointment or aftercare Vaseline to keep the wound soft.
- Use clean pillow covers and bed sheets. A dirty pillowcase can cause infections or can become the reason for transferring germs to the wound.
- Use mild soap and wash cleansers to wash the face and treated area.
Microblading Aftercare for Oily Skin
Microblading is ideal for dry skin, and aftercare for dry skin is also easy. When it comes to oily skin, then aftercare becomes a little bit tricky. There are chances that pigment can blur in oily skin. Oil and sebum can push the pigment out, so microblading results for oily skin are not so perfect. It doesn’t mean that people with oily skin can’t go for balding. Dry aftercare is recommended for people with oily skin
- Don’t apply any oily product or cosmetic
- Don’t apply any moisturize near the treated area
- Don’t involve in activities that promote the oil and sebum production
- Keep blotting the wound with dry tissue paper in the initial days after the procedure.
The rest of the dos and don’ts of aftercare are the same for both dry and oily skin.
Microblading Healing Process
If you follow the microblading aftercare instructions thoroughly, then your healing process will be smooth and tensions free. You must understand that healing is a day by day process and comprises different phases. Initial days are tough in the healing process and require extra care and attention. As the healing process proceeds, every passing day brings betterment.
After four weeks, your pigment will start to appear natural or as your desired color. You can take your first touch ups session right after the eighth week. In a touchup session, you can ask for necessary amendments to your micro bladed brows.
It is also crucial to remember that mild complications can occur during the healing process, like redness, swelling, and irritations. Some people may get disheartened by the dark appearance of brows or pigment disappearance, but these conditions heal automatically after a few days.
Microblading Aftercare Tips
- Allergies and infections are also part of the healing process. If you experience any kind of allergy or infection, then don’t use any DIY method to treat it. Don’t use any antibiotic ointment yourself. Go to a dermatologist immediately to seek help.
- If you want the perfect microblading brows, then don’t miss your first touch session at any cost. Moreover, try to take the next touch up session as soon as you notice pigment fading. If you have oily skin, your brows can fade faster, so try to book a timely touch-up session to extend their life.
- If you are diabetic or have any underlying health condition, then you must discuss it with your brow artist or esthetician.
Final Words
Aftercare is an important part of microblading, and you can’t neglect it at any cost. Microblading aftercare is not complicated but requires your extra care. If you strictly follow the aftercare guidelines, then healing will be smooth. Adopting a careful attitude from day first can save you from many complications during the healing process. So it is always better to follow all standard dos and don’ts of aftercare.
